All About the Workflow of an Interior 3D Rendering Project
When they need attractive visuals for their projects and listings, architects, designers, and real estate agents opt for 3D rendering services. The 3D animations, walkthroughs and hyper-realistic imagery that can be created by an experienced artist can go a long way toward helping clients and other stakeholders to understand and appreciate the thought process behind the conceptualization of the design.
To make sure that every interior 3D rendering project goes smoothly, Architectural Visualization Studio have put in place a standard workflow, and this has been fine-tuned and perfected over the years. What are the steps involved in an interior or exterior 3D rendering project? What are the preliminary results that you can expect to get at each stage, and what actions should be take further to improve the end results?
If you are aware of the three major steps that go into the 3D visualization process, and know what feedback is expected from you during each of these rounds, you can get the best 3D interior images in the shortest time and with a minimum of changes. Read on to know what to expect at every stage of the project.
Let’s begin at the point where you, as a client have submitted a brief and the studio decides to take up the project.
#1. Grayscale Renders

Once the studio has received a brief and started work on your project, they will submit the first preliminary results. These will be rendered in grayscale, also called “clay” renders which will be submitted for basic approval. These images of a room interior will have all the main objects and elements in them, but with no colors, materials, or textures. At this point, you are expected to check if the geometry of the room, the camera angles and heights, and positioning of the furniture are correctly depicted.
During this stage, if there is no extra 3D modeling required, the artists would advise you if some additional views would help to enhance the visuals. You can expect a couple of revisions, where the artists will reposition the elements and angles to suit your requirements. Once this is agreed upon, then they will proceed to the next stage, which is called “Coloured Proof 1”.
#2. Adding Depth through Textures and Materials on Coloured Proof 1

Once the grayscale is approved, the artists will create interior renderings with textures, materials, lighting, colours, and decor items. The standard image resolution at this point is 3k, which allows all the details to be clearly seen. Having seen the Coloured Proof 1, you are required to either approve the CG images as they are or indicate the corrections that you would like in the aspects introduced at this stage.
Typically, during this stage around 2 or 3 revisions will happen, and they could include changing certain accessories or colours of the objects depicted. In case you are perfectly happy with what the artist has shown you, you may ask for them to proceed with making the final renders.
#3. Final Images

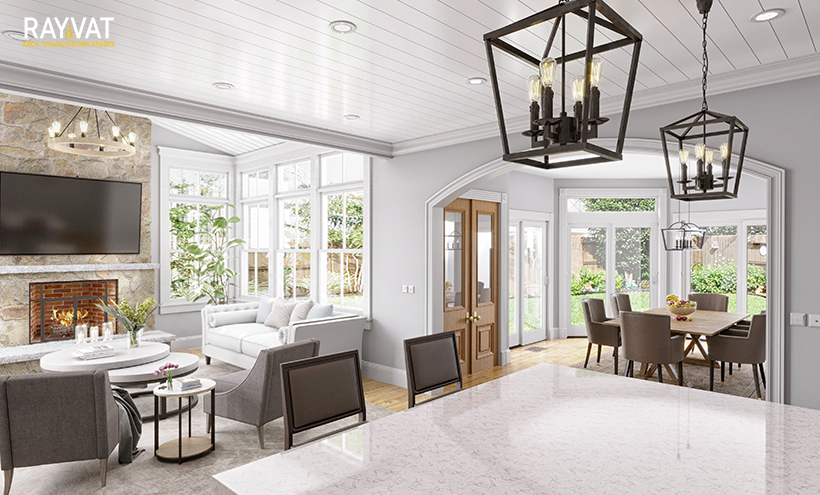
Once the stage 2 images are edited and approved, the 3D artists will get started on creating the final renders. Expert adjustments will be made to the colour balance, brightness, and contrast using Photoshop, and once the editing is fixed, clients will get the final rendering usually in an extremely photorealistic image resolution of 4k, which is suitable for printing in the A1 format. This resolution can be made lower or higher upon specific requests.
Once you have your final images, do give your detailed feedback on the 3D images to your 3D rendering team! This will help them to improve the process still further, and shake out any hiccups that could have happened along the way.
Now that you know the steps involved in creating hyper-realistic 3D imagery, you are well positioned to get the best efforts from your 3D rendering services! If you’re ready to try professional 3D imagery for your next visualization project, do get in touch with the experts at Rayvat. Our expert 3D services are very cost-effective, with a super quick turnaround time.
Give us a call at +1-888-863-4445. You can also drop in an email at engineering@rayvat.com. Let’s get started on creating some mind-blowing visuals!
