Process Flow for 3D Exterior Rendering Project at Rayvat Rendering Studio
CGI has been welcomed for projects by more architects, real estate developers, and agents in recent years. It gives us great pleasure at Rayvat Rendering Studio to assist these experts with first-rate 3D visualising capabilities. We have created a simplified standard workflow method under management using our CRM system to guarantee our clients enjoy a flawless experience. Every exterior 3D rendering project runs through this method consistently.
For our clients, knowing the workflow is vital since it will enable them to effectively negotiate every phase of the project. Achieving exceptional results with few changes depends on open communication from presenting a thorough brief to analysing early findings and offering comments. The four basic processes in our exterior 3D rendering process are broken out here.
1. Sharing the brief.
Our exterior 3D rendering projects start with the client's submission of a thorough brief. Architectural designs, lighting and mood references, and details on the surrounding surroundings should all fit in this little overview. One can also supply architectural sketches, Revit 3D models, and examples of textures and materials.
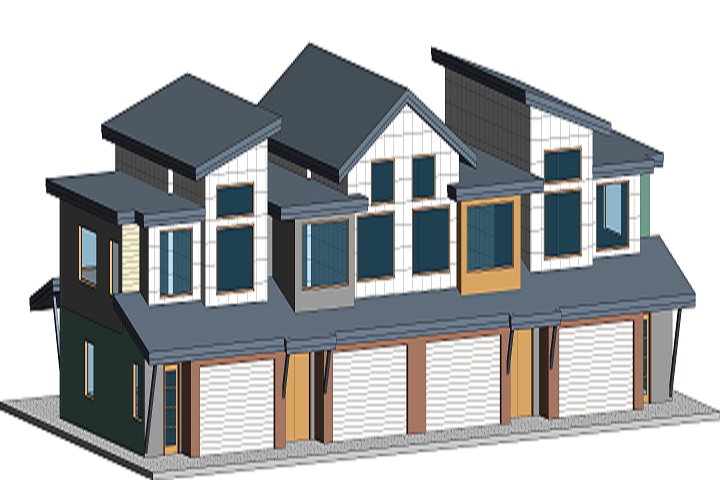
2. Approval of 3D Model Snapshots
We first create a 3D model and share snapshots of it, sometimes known as "clay," renders once we get the brief. These pictures devoid of colours or textures highlight the main objects, including the structure and its surroundings. Customers at this point check the camera angles, building geometry, and surrounding details. They could either approve the renders or ask for changes. Should other opinions be recommended, our staff can also provide them. Usually, this phase consists of one to two rounds of changes. Approved, we next go on to the next phase—Draft Renders
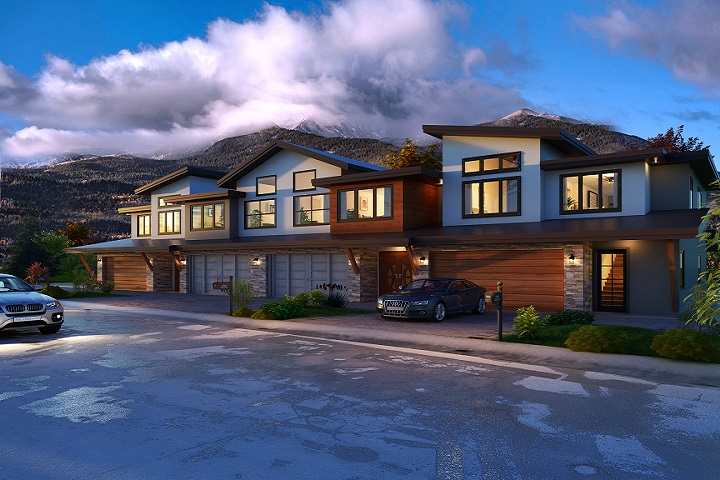
3. Draft Renders
At 2K quality, we create coloured and textured CG graphics at the Colour Proof 1 step. Examining lighting, materials, and environmental variables like people, cars, and landscape, clients analyse these intermediate outcomes. Usually, this stage lets one make up to three rounds of little tweaks. Comments during this stage guarantee that every component complements the vision of the client.
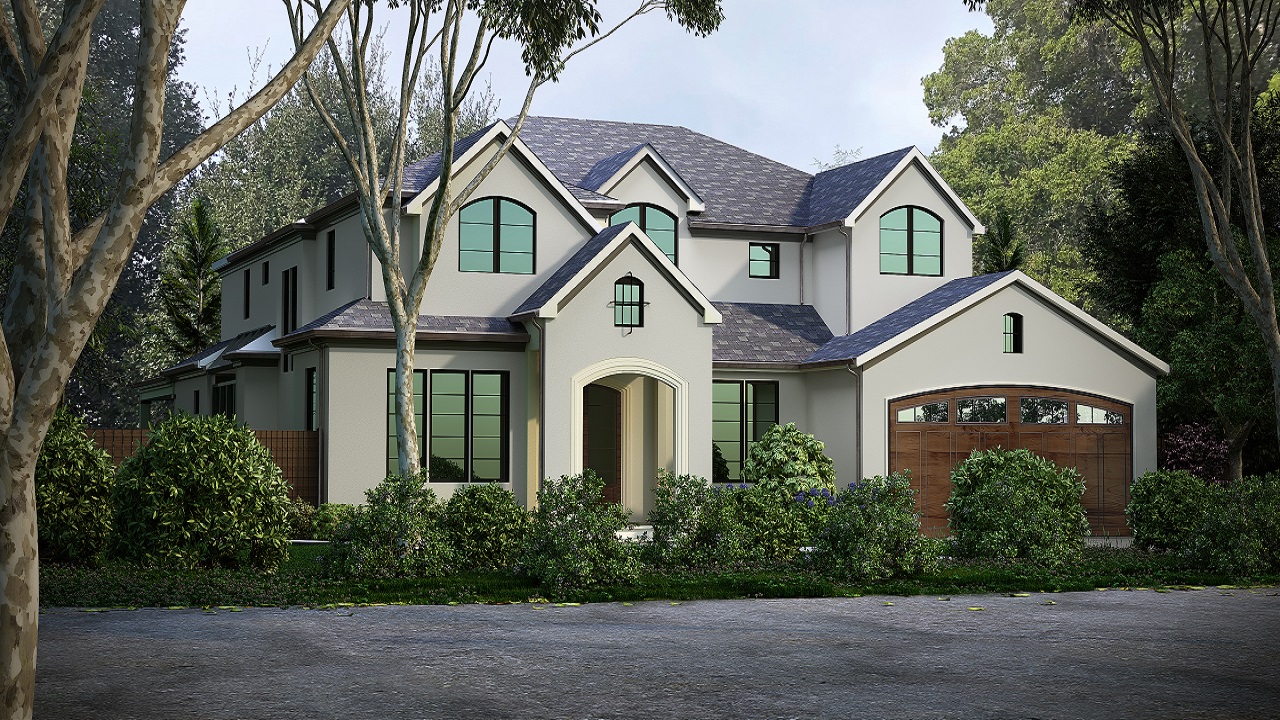
4. Obtaining the Final Renders
Presenting the finished renders—which have been post-production modified—is the last phase. Using Photoshop, our 3D artists improve photographs by adjusting lighting, contrast, and colour balance, therefore producing hyperrealistic effects. Although clients can request various resolutions, if necessary, we offer the final images in 4K resolution, fit for A1 size printing. We value comments on the last images and general workflow since it help us keep our services getting better.
Overview
At Rayvat Rendering Studio, that is the whole procedure for getting outstanding exterior 3D renderings. Our effective process guarantees that every job is finished fast and with great quality, therefore simplifying the experience for our clients.
Ready to improve your project with expert 3D exterior rendering techniques? Get amazing images for your presentations, classifieds, and marketing materials—quickly and affordably—by contacting Rayvat Rendering Studio now!